Mold in Shower Caulk Keeps Coming Back: Why It Returns and What Fixes It
Mold in shower caulk keeps coming back because the colony grows inside the bead, not on it. Surface cleaners bleach the visible stain while the growth survives in the silicone and regrows within days. When the bead is cracked or the stain runs through it, only cutting the old caulk out, drying the joint, and re-caulking stops the cycle.
The Mold Returns Because It Lives Inside the Bead, Not on It
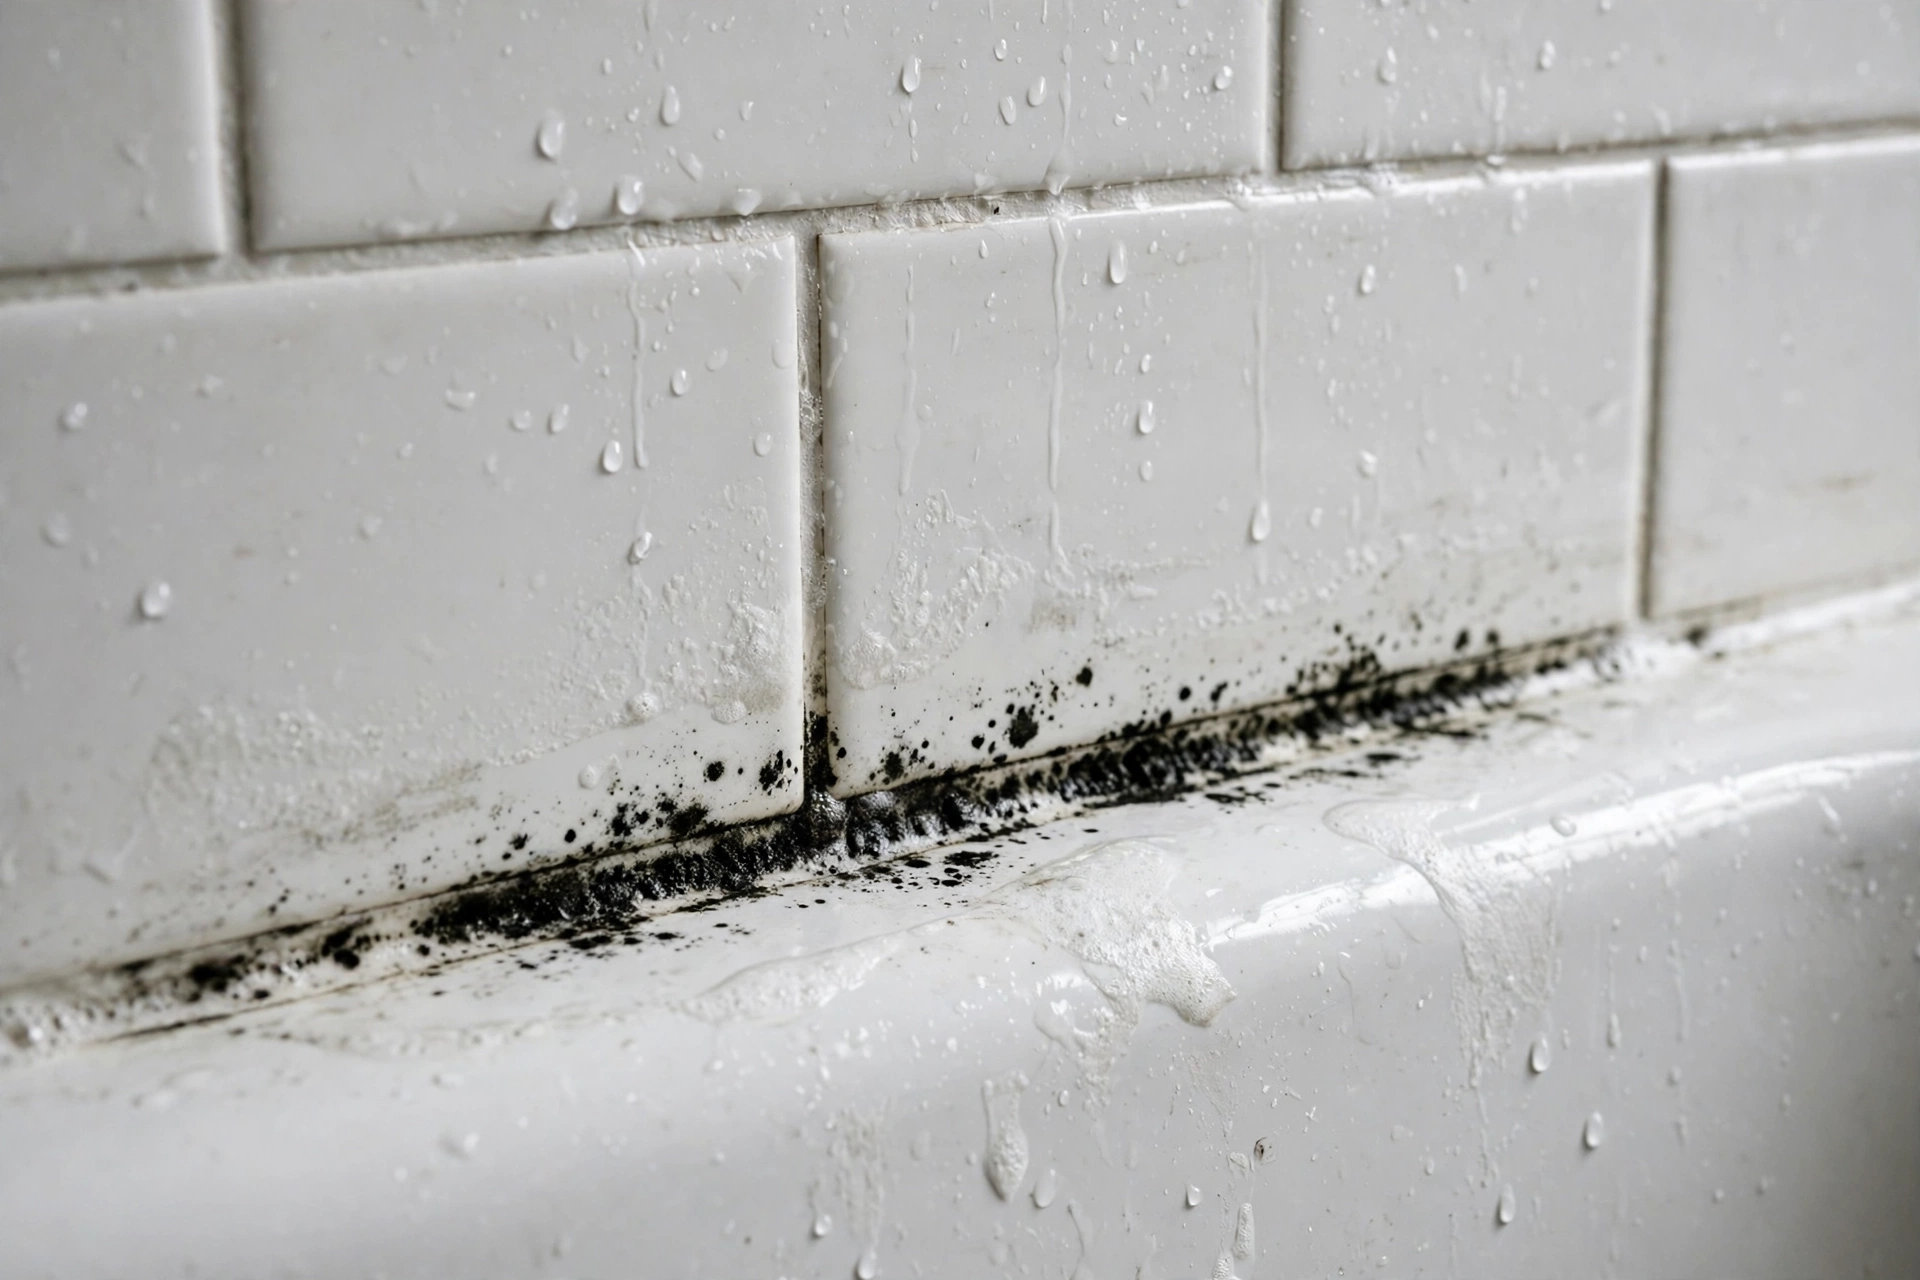
Shower caulk looks like a smooth strip, but up close it is a slightly porous rubber that absorbs water, soap film, and body oils over time. Mold spores land on that film, and the threadlike growth (the mycelium) works its way into the body of the bead. What you see on the surface is only the fruiting part of a colony that extends deeper.
This is why bleach so often fails. Chlorine whitens the stain on the surface and then evaporates, so the growth rooted inside the bead never really meets the chemical. The bead looks clean for a few days, then the colony pushes fresh growth back to the surface and the black spots return in the exact same places. Vinegar and 3% hydrogen peroxide penetrate a little better, which is why they sometimes buy more time, but neither one can rescue a bead the colony has fully moved into.
Most shower caulk mold is made up of common indoor species like Cladosporium, Penicillium, and Aspergillus, the same genera the EPA lists among typical household molds. One thing worth knowing: the pink or orange slime that shows up on caulk and grout is usually not mold at all. It is a bacterium called Serratia marcescens that forms a slick biofilm on soap residue. It wipes off far more easily than true mold, so if your pink film clears with a light scrub but the black spots do not, you are dealing with two different organisms.
Surface Staining and an Embedded Colony Need Different Fixes
Before reaching for a cleaner or a caulk gun, run a quick diagnosis. Cleaning and re-caulking solve different problems, and most frustration comes from applying the wrong one.
- The wipe test. Wipe the spot firmly with a damp cloth. If the discoloration lifts and the bead underneath looks clean and uniform, it was surface growth and cleaning is the right move.
- The through-the-bead test. If scrubbing lightens the spot but dark threads or shadowing remain visible inside the bead itself, the colony is embedded. No surface cleaner will reach it.
- The bead-integrity check. Run a fingernail along the bead. If the caulk is cracked, peeling, pulling away from the tile or tub, or crumbly at the edges, the seal has failed. Water is getting behind it, and cleaning the surface changes nothing.
- The same-spot test. Growth that returns in the exact same spot within days of a thorough cleaning is growing from underneath or inside the bead, not from fresh spores landing on top.
Surface staining gets cleaned. An embedded colony or a failed bead gets cut out and replaced. Choosing correctly is the whole game.
Cleaning Makes Sense Only When the Bead Is Still Sound
When the bead is firm, fully attached, and only lightly stained, cleaning is worth doing. Rinse the area first so soap film does not dilute your cleaner, then spray undiluted white vinegar or 3% hydrogen peroxide directly on the caulk and let it sit for 30 to 60 minutes. Scrub along the seam with an old toothbrush, rinse thoroughly, and dry the area completely with a towel. Drying matters as much as the cleaner: mold needs moisture, and a bead left damp after cleaning invites the colony right back.
Two safety notes. Never mix bleach with vinegar or any acid; the combination releases toxic chlorine gas. And wear gloves and ventilate the bathroom while you work, since scrubbing disturbs spores even in a small job. Be honest with yourself about the result: if the staining fades but returns within a week or two, you were treating an embedded colony, and it is time to stop cleaning and start re-caulking.
Re-caulking Is the Real Fix When the Colony Has Moved Into the Bead
Once mold has established itself inside the caulk, replacement is the only fix that lasts. The good news is that re-caulking a shower is a straightforward DIY job when done in the right order. The order matters more than the product.
- Remove every bit of the old caulk. Cut it out with a utility knife or caulk removal tool, working shallow so you do not nick the tub finish or tile glaze. This step is non-negotiable: new silicone does not bond to cured silicone, so any old caulk left behind becomes a weak spot where the new bead fails early.
- Clean and treat the bare joint. Wash the seam with warm soapy water, rinse, then wipe it with vinegar or hydrogen peroxide and rinse again. Let the joint dry completely, a full 24 to 48 hours with the shower unused. Caulk applied to a damp seam is a failure waiting to happen.
- Wipe with rubbing alcohol. A final alcohol wipe removes the invisible film of soap and body oils that stops caulk from gripping. Let it air dry fully.
- Apply 100% silicone bathroom caulk. Choose a bathroom-grade 100% silicone, not latex or acrylic blends, since silicone resists moisture far better. Run painter’s tape along both sides of the seam for a clean line, apply a bead that is small but fully sealed with good contact on both surfaces, smooth it, and pull the tape while the caulk is still wet.
- Let it cure before the next shower. Keep water off the new bead for 24 to 48 hours, following the tube’s directions. A bead that gets soaked before it cures never seals properly.
Done this way, a fresh bead typically stays clean far longer than the failed one it replaced, because the colony is gone and the seal is actually sealed.
Water Behind the Caulk Restarts the Cycle No Matter How You Clean
There is a deeper reason recurrence keeps winning, and no cleaner can touch it. When a caulk bead fails, water slips behind it during every shower. The back side of the bead and the joint underneath stay damp around the clock, and mold grows from underneath, pushing through to the surface again and again. This is why mold in shower caulk keeps coming back after every scrub until the seal itself is fixed.
Pay special attention to where two surfaces meet at an angle: tub to tile, wall corners, and floor to wall. These are movement joints, and they flex slightly as the house moves and temperatures change. Rigid grout cracks in these spots, which is why they should be caulked, not grouted. A cracked grout line in a corner is an open channel for water to get behind the tile, and it will keep feeding mold no matter how often the surface gets cleaned. If you see grout where caulk should be, that joint needs to be scraped out and caulked properly.
One quick check tells you whether the seal has already failed: press the bead gently. If water seeps out from behind it or the bead flexes away from the surface, water has been getting in, and the joint needs to dry out and be re-caulked, not cleaned.
Drying Habits Decide Whether New Caulk Stays Clean
A fresh bead in a shower that never dries will mold again; the timeline just stretches. The habits that keep new caulk clean are the same ones the EPA points to for damp areas generally: ventilation and drying beat cleaning strength every time.
- Run the exhaust fan 20 to 30 minutes after every shower, not just during. If the mirror is still fogged, the air is still too wet.
- Squeegee the walls and leave the shower door or curtain open so air reaches the wet surfaces.
- Rinse soap and shampoo residue off the caulk line before stepping out. That residue is food for both mold and the Serratia biofilm.
- Keep bathroom humidity in check. Guidance from health authorities points to keeping indoor relative humidity below 50%. In Hollywood FL the outdoor air stays humid most of the year, so there is no dry season to bail out a weak fan.
- Reseal cement grout per the manufacturer’s directions and replace failing caulk early, before moisture works its way behind the seal.
None of these steps is dramatic. Together they remove the constant dampness that lets a new colony establish, which is exactly what the old routine failed to do.
Mold That Returns After Re-caulking Means Moisture Behind the Wall
Sometimes you do everything right: the old caulk comes out, the joint dries, the new silicone bead cures, the fan runs, and the black spots still return in the same place. That pattern means the moisture is not coming from the shower spray at all. It is coming from behind the wall.
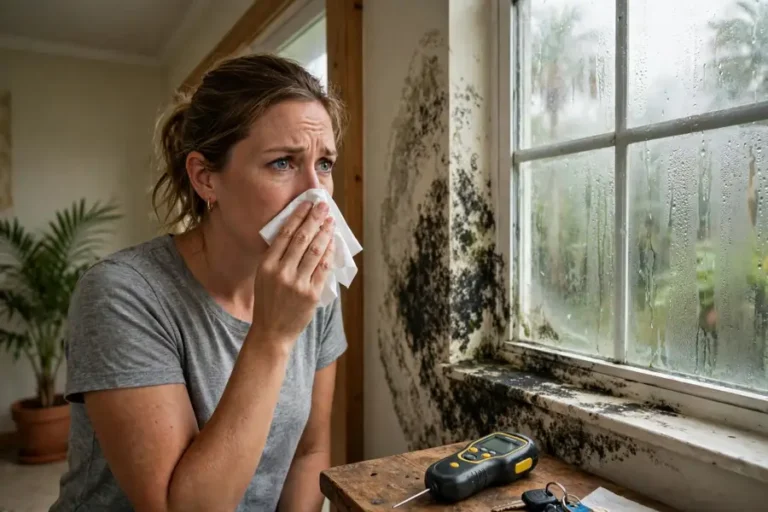
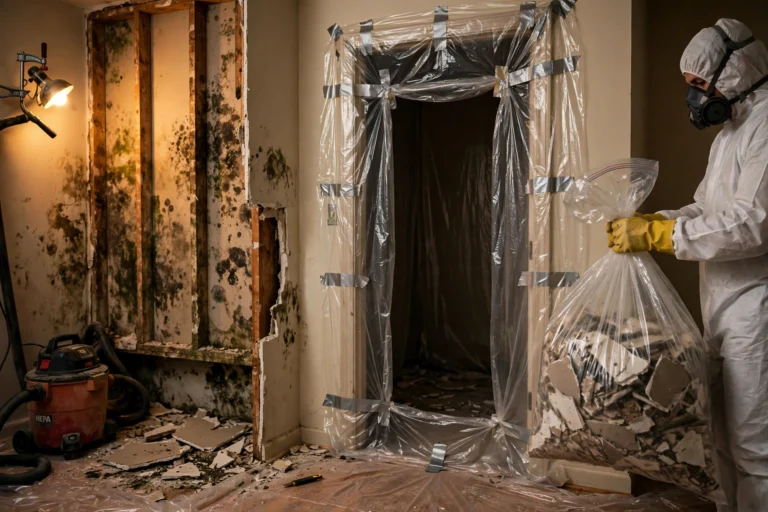
Watch for the escalation signs: a musty smell that survives a full cleaning, tile that feels loose or sounds hollow when tapped, drywall outside the shower that feels soft or shows discoloration, or staining on the ceiling below the bathroom. Any of these means water has been reaching the wall cavity, and the mold you keep seeing is only the part that made it to the surface. The EPA uses about 10 square feet as the practical line where homeowner cleanup stops being the right call, and hidden wall-cavity growth sits firmly on the professional side of that line.
If the mold keeps returning in the same spot after re-caulking, or you notice any of these behind-the-wall signs, call Mold Removal Hollywood at +1 (954) 676-1007 for an assessment. Cleaning a surface when the problem is inside the wall only hides it.
For related bathroom moisture problems, see our bathroom and kitchen mold removal guide, and if the moisture has reached the ceiling, read about mold on bathroom ceiling drywall to judge whether the drywall itself can be saved.
Stop Scrubbing the Same Spot and Fix It for Good
If you have bleached the same caulk line three times and the mold keeps winning, the problem was never your cleaner. It is the bead. Cut it out, dry the joint, re-caulk it properly, and fix the drying routine, and the cycle ends. And if the growth keeps returning after all of that, the moisture is behind the wall and it is time for a professional look. Call Mold Removal Hollywood at +1 (954) 676-1007, or find us on the map here: Mold Removal Hollywood on Google Maps.
Frequently Asked Questions
Does bleach kill mold in shower caulk?
Bleach whitens the visible stain on the caulk surface, but the chlorine evaporates before it can reach the growth rooted inside the bead. The stain usually returns within days or weeks. Vinegar or hydrogen peroxide penetrate slightly better, but neither fixes a bead the colony has fully moved into.
Will vinegar stop shower caulk mold permanently?
Vinegar can kill surface growth and slow regrowth on an intact bead, but it is not permanent. If the colony is embedded in the caulk or the seal has failed and water is getting behind the bead, the mold will return regardless of what you spray on it. Permanent results come from re-caulking and fixing the moisture.
How long should new shower caulk cure before I use the shower?
Keep water off the new bead for 24 to 48 hours, following the directions on the tube. A bead soaked before it cures never bonds properly, and a weak bond lets water behind the caulk, which restarts the mold cycle.
Can I caulk over old moldy caulk?
No. New silicone does not bond to cured silicone, so a fresh layer over old caulk peels away quickly and traps moisture underneath. Cut out all of the old caulk, clean and dry the joint completely, then apply the new bead.
Why is there pink slime on my shower caulk?
The pink or orange film is usually Serratia marcescens, a bacterium that forms a slick biofilm on soap residue, not a mold. It wipes off much more easily than true mold. Regular rinsing of soap film and better drying usually keep it away.
Should shower corners be grouted or caulked?
Caulked. Corners and other spots where two surfaces meet at an angle are movement joints that flex, so rigid grout cracks there. Cracked grout in a corner lets water behind the tile and feeds recurring mold. Scrape it out and caulk the joint with 100% silicone.
When does shower mold need a professional instead of DIY?
Call a professional when the growth covers a large area (the EPA’s practical benchmark is around 10 square feet), when mold keeps returning in the same spot after re-caulking, when you smell mustiness you cannot locate, or when tile feels loose or drywall feels soft. Those signs point to moisture inside the wall, which surface cleaning cannot fix.
Why does my shower caulk turn black again a week after I bleach it?
Bleach only whitens the surface stain. The colony’s root network survives inside the bead, so fresh growth reaches the surface again within days. Cut the old caulk out and re-caulk instead of bleaching it again.
Can I just clean moldy shower caulk, or do I have to replace it?
Clean it if the bead is firm, fully attached, and only lightly stained. Replace it if the stain runs through the bead, the caulk is cracked or peeling, or the mold returns in the same spot within days of cleaning.
What kind of caulk should I use in the shower to prevent mold?
Use a bathroom-grade 100% silicone caulk, not latex or acrylic blends. Silicone resists moisture far better. The bigger factor is application: remove all old caulk, dry the joint fully, wipe with alcohol, and let the new bead cure 24 to 48 hours before it gets wet.
My shower smells musty but I cannot see mold anywhere. What should I check?
Check behind the caulk line and tile: press the bead for seepage, tap tiles for a hollow sound, and feel the drywall outside the shower for softness. A musty smell with no visible mold often means growth inside the wall cavity, which needs a professional assessment.



One Comment